顯示具有 Ubuntu 標籤的文章。 顯示所有文章

2026年4月4日 星期六

Ubuntu 24.04.2 安裝繁體中文語系與中文輸入法


以下以快速筆記方式進行

1. 安裝Ubuntu 24.04.2桌面版

這裡就掠過安裝過程,請大家自行完成。依照慣例會是以英文安裝,以避免目錄預設變成以中文命名。

建議先執行軟體升版再繼續

sudo apt update

sudo apt upgrade

2. 安裝並設定繁體中文語系

安裝繁體中文語系套件

sudo apt install language-pack-zh-hant

產生語系資料

sudo locale-gen zh_TW.UTF-8

啟用繁體中文語系

sudo localectl set-locale LANG=zh_TW.UTF-8

完成後,請重新啟動電腦!

3. 重啟電腦並選擇保留命名

然後果看到系統顯示下面這張圖,請選擇'保留舊名稱',不然以英文安裝的心血就白費了!!!!


4. 安裝中文輸入法

安裝酷音輸入法

sudo apt install ibus-chewing

5. 設定系統要使用輸入法

點擊螢幕左下角的環狀圖示,找到'設定'並點擊,等待設定頁App啟動
左列選單找到'鍵盤'並點擊→在輸入來源這區塊,找到'加入輸入來源'並點擊
點擊'中文(臺灣)'→點擊'中文(新酷音)'→右上角點擊'加入'按鈕
這樣就設定完可以用中文輸入法了。

2025年9月3日 星期三

Ubuntu 22.04.3 新酷音中文輸入法安裝紀錄


安裝系統

  1. 最小安裝, 安裝更新, 不安裝第三方套件
  2. 英文
  3. 時區台北

中文語言包

時區選台北之後,內建語言是lzh很奇怪


成&設定語言成zh_TW

sudo locale-gen zh_TW.UTF-8
sudo localectl set-locale LANG=zh_TW.UTF-8
這裡需要重啟才會整個系統生效,不過待會再一起重啟,我們先去裝語言套件才會有中文輸入法。
 
 
Region & Language,→ Manage installed languages → 彈出Language Support視窗
 
Language Support內安裝繁體中文語言包

點擊Details會發現都是英文語系套件,不是我們要的中文套件

點擊下方Install / Remove Languages按鈕 → 彈出Installed Languages視窗

找到Chinese (traditional)並勾選,按右下角Apply


設定系統語言

離開Language Support視窗,回到Region & Language,這時點擊下方語言選擇按鈕,會發現已經有中文,請點擊它讓勾勾跑到中文 → 再點右上角Select來套用。

重啟系統

到這裡就可以重新啟動系統

安裝中文輸入法

請不要改成中文目錄

重啟之後Ubuntu會問你是否要改成中文目錄名稱,請務必選不要,避免一些應用程式無法存取

在Launcher應用程式清單找到設定值(之前是Settings)→左半選單中點地區與語言


新增鍵盤的輸入來源

左半選單中點鍵盤→點擊輸入來源下方的+號按鈕→彈跳出加入輸入來源對話方塊

加入輸入來源對話方塊,點擊中文(台灣)→可以看到中文(新酷音)

點擊中文(新酷音)→右上角加入 


可以看到完成新增的輸入來源已有英文和中文

Ubuntu 22.04.3內建是使用Window + Space做輸入法切換


改輸入法切換快捷鍵

點擊下方鍵盤快捷鍵檢視與自訂快捷鍵按鈕→彈跳鍵盤快捷鍵視窗→點擊輸入

這裡就可以點擊想要修改的切換輸入法的快捷鍵功能


參考資料

https://hackmd.io/@3OnqnT1fTvGgrRoxGGdA-g/S1lmxWMGj


資料來源:https://hackmd.io/@uoStF0JnQ2KW_h7HNvalFA/ryTtdp9pn#Ubuntu-22043-%E6%96%B0%E9%85%B7%E9%9F%B3%E4%B8%AD%E6%96%87%E8%BC%B8%E5%85%A5%E6%B3%95%E5%AE%89%E8%A3%9D%E7%B4%80%E9%8C%84

2025年7月8日 星期二

Install Google Chrome Remote Desktop on Ubuntu 24.04

 Learn how to install and configure Google Chrome Remote Desktop on Ubuntu 24.04 with this comprehensive step-by-step guide. Ensure secure and efficient remote access to your Ubuntu system from anywhere. Follow our detailed instructions and troubleshooting tips to get started.

Introduction

Remote desktop applications have revolutionized how we access and control computers from distant locations. Among these applications, Google Chrome Remote Desktop stands out due to its ease of use, reliability, and cross-platform support. This guide will walk you through the process of installing Google Chrome Remote Desktop on Ubuntu 24.04. Whether you’re a beginner or a seasoned Linux user, this comprehensive tutorial will ensure you have remote access up and running in no time.


Why Use Google Chrome Remote Desktop?

Before diving into the installation process, it’s crucial to understand why Google Chrome Remote Desktop is a preferred choice for many:

  • Cross-Platform Compatibility: It works seamlessly on Windows, macOS, Linux, and Chrome OS.
  • Security: Uses a secure connection and encryption to protect your data.
  • Free to Use: Unlike many remote desktop solutions, it is completely free.
  • Ease of Use: Simple to set up and use, even for non-technical users.

Prerequisites

To begin with, ensure you have the following:

  1. Google Chrome Browser: Google Chrome Remote Desktop requires the Chrome browser.
  2. Google Account: You’ll need a Google account to use this service.
  3. Terminal Access: Basic knowledge of using the terminal is necessary.

Google Chrome Remote Desktop on Ubuntu 24.04: Step-by-Step Guide

First things first, update your Ubuntu machine:

sudo apt update -y && sudo apt upgrade -y

Step 1: Install Google Chrome

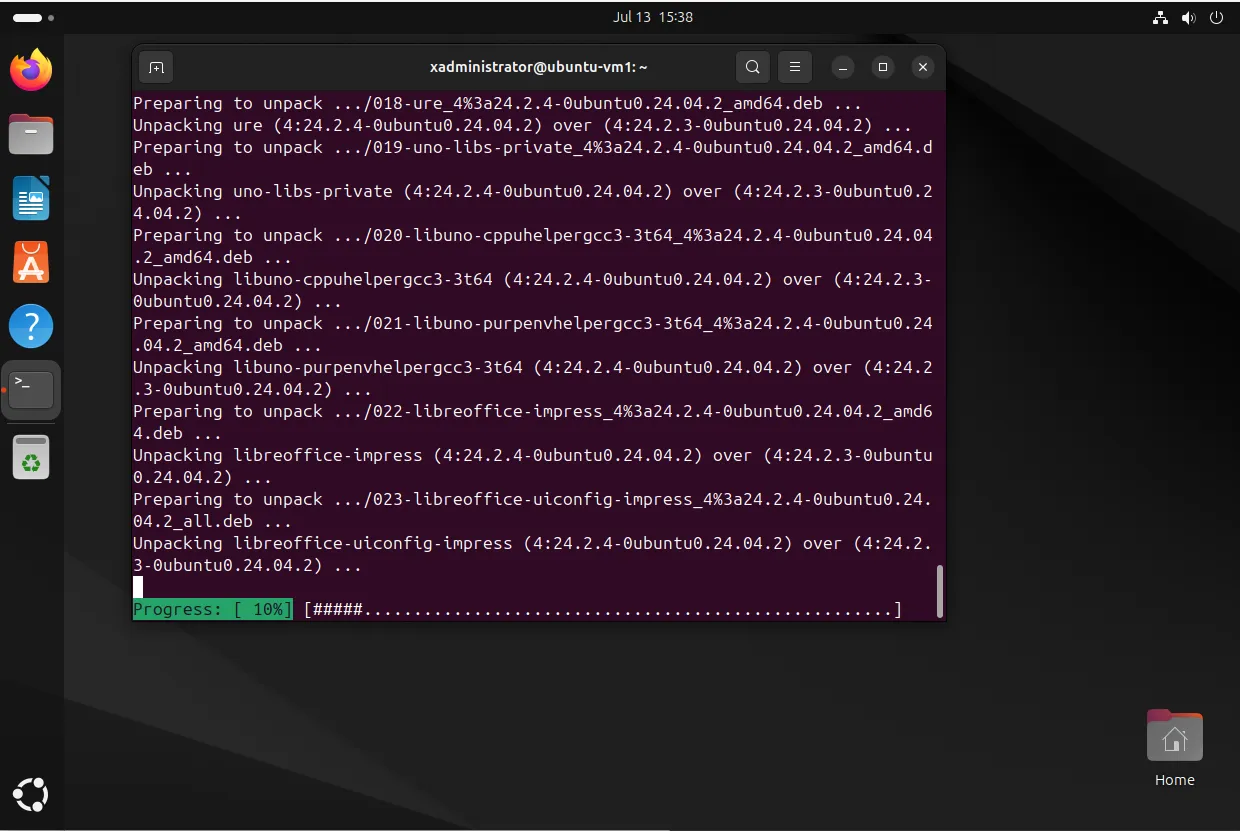
Next, you’ll need to install the Google Chrome browser on your Ubuntu 24.04 system. Open your terminal and follow these commands:

wget https://dl.google.com/linux/direct/google-chrome-stable_current_amd64.deb
wget https://dl.google.com/linux/direct/chrome-remote-desktop_current_amd64.deb
sudo dpkg -i google-chrome-stable_current_amd64.deb
sudo apt-get install -f

The above commands will download and install the latest version of Google Chrome. The -f option in the last command fixes any dependency issues.

Chrome Remote Desktop on Ubuntu 24.04

Photo by admingeek from Infotechys

Step 2: Install Google Chrome Remote Desktop

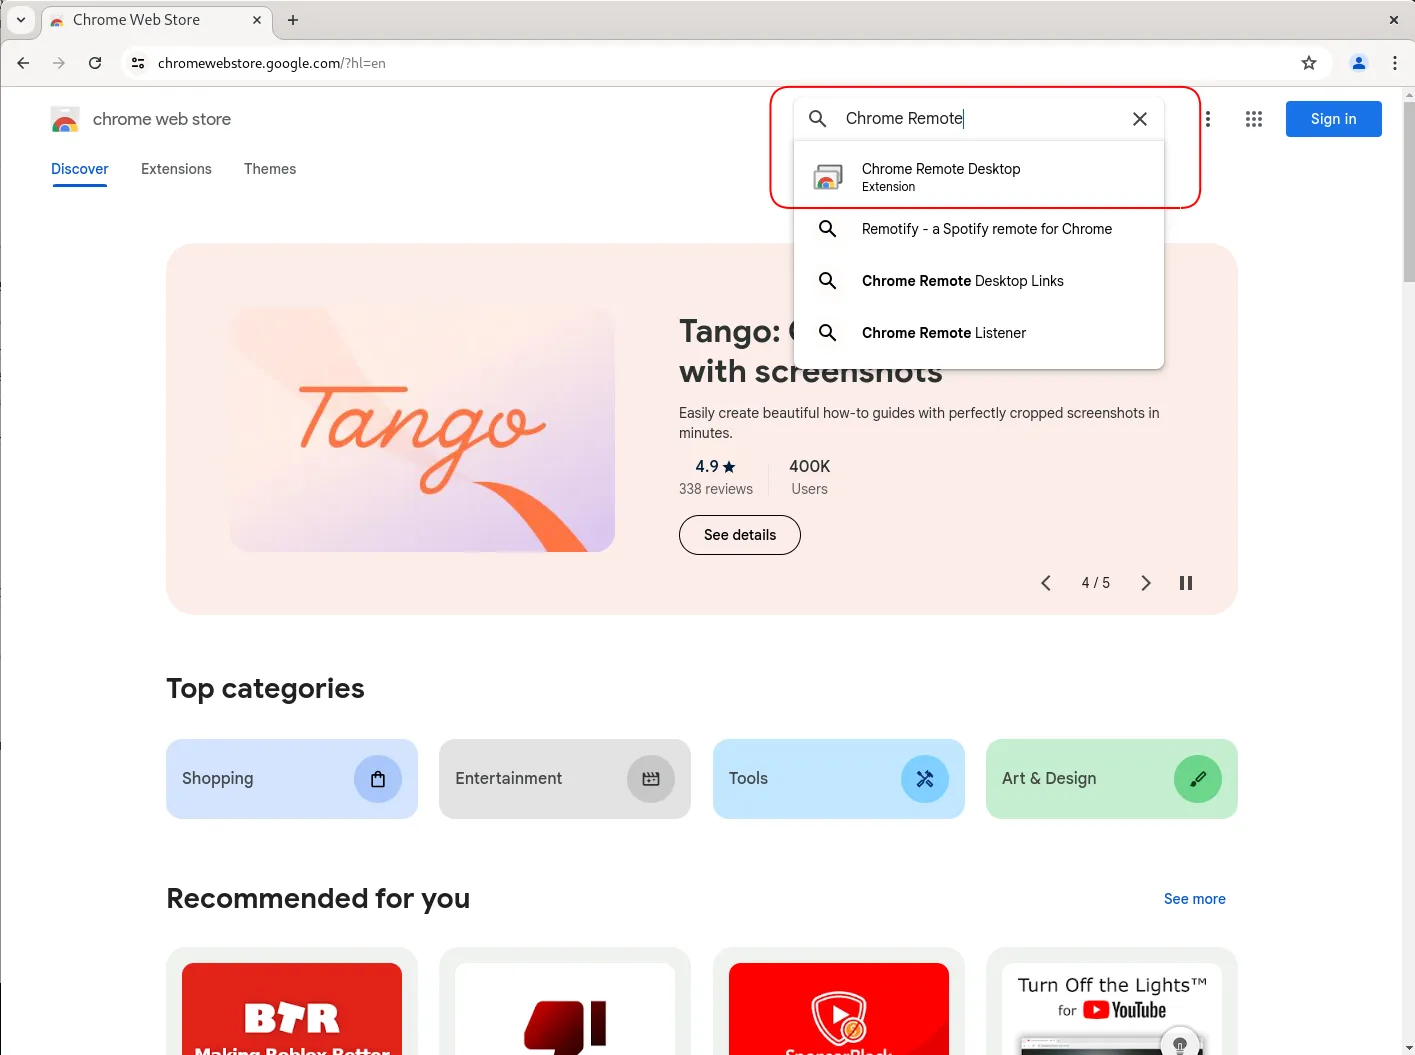
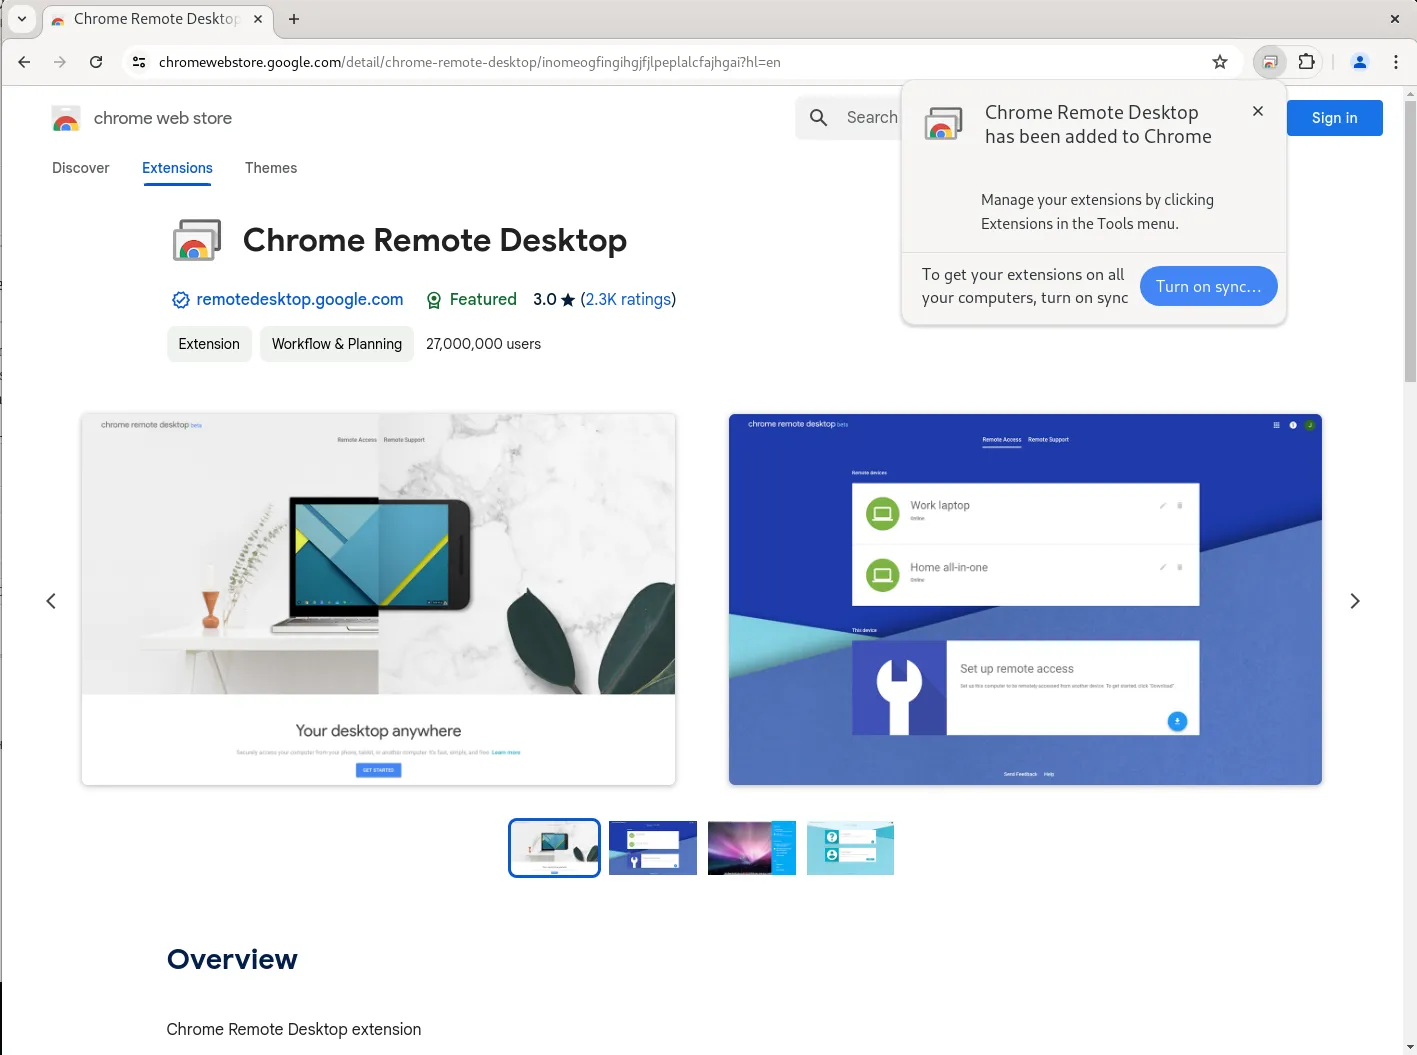
Next, you need to add the Chrome Remote Desktop extension to your browser. Open Google Chrome and visit the Chrome Web Store. Search for “Chrome Remote Desktop” and add the extension to your browser.

Alternatively, you can use the following link to directly add the extension: Chrome Remote Desktop Extension.

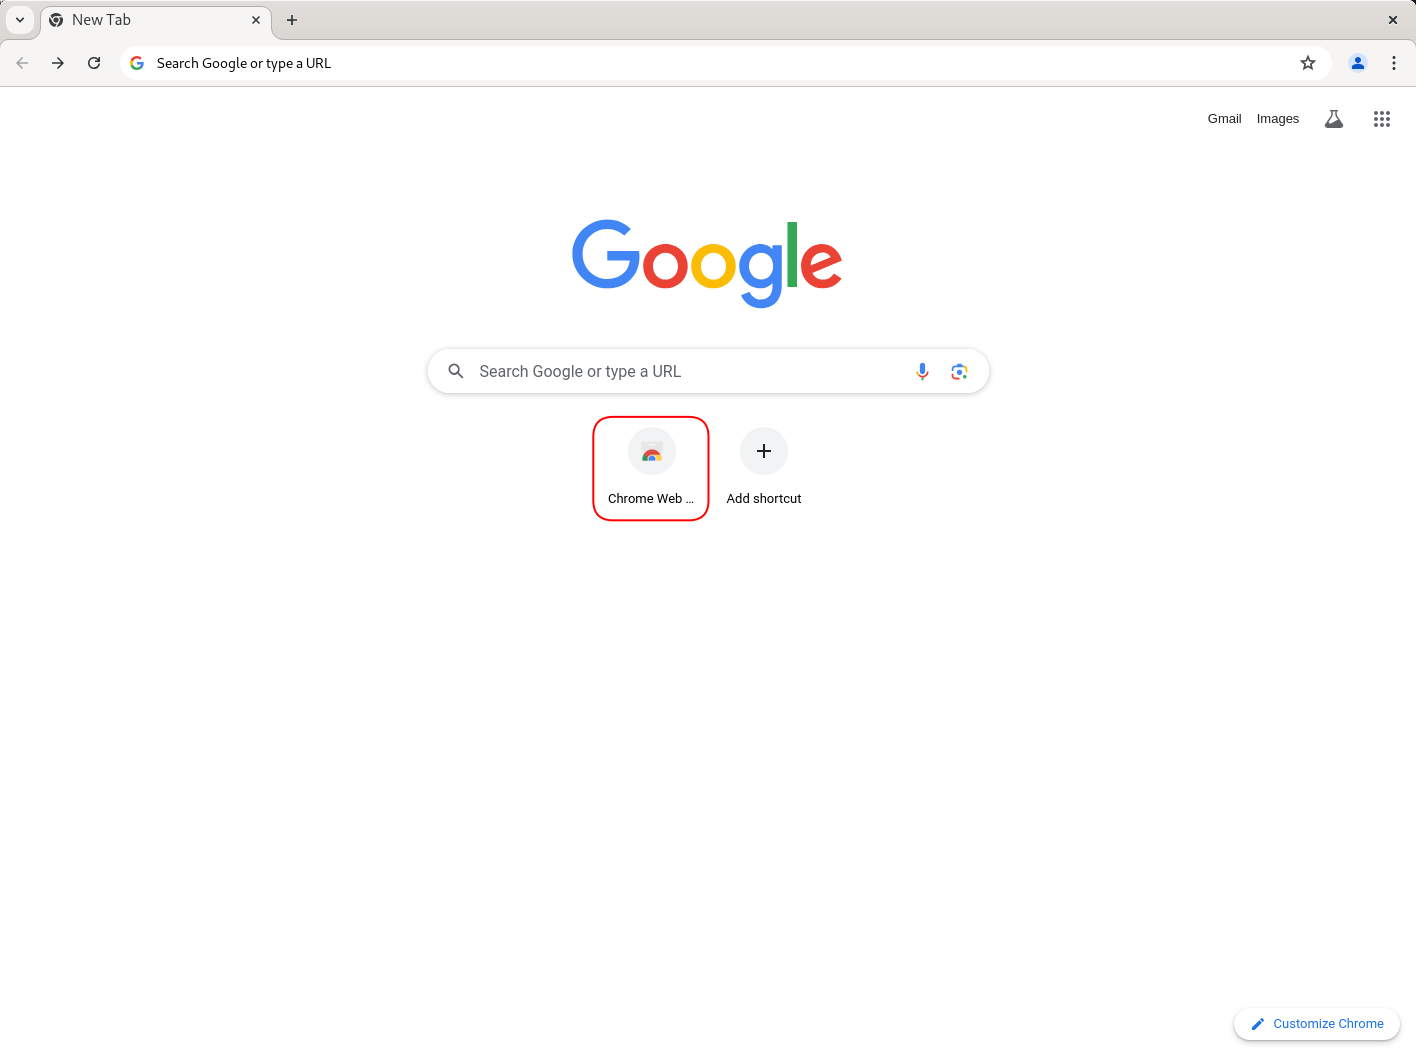
Chrome Remote Desktop on Ubuntu 24.04
Click Chrome Web Store Icon
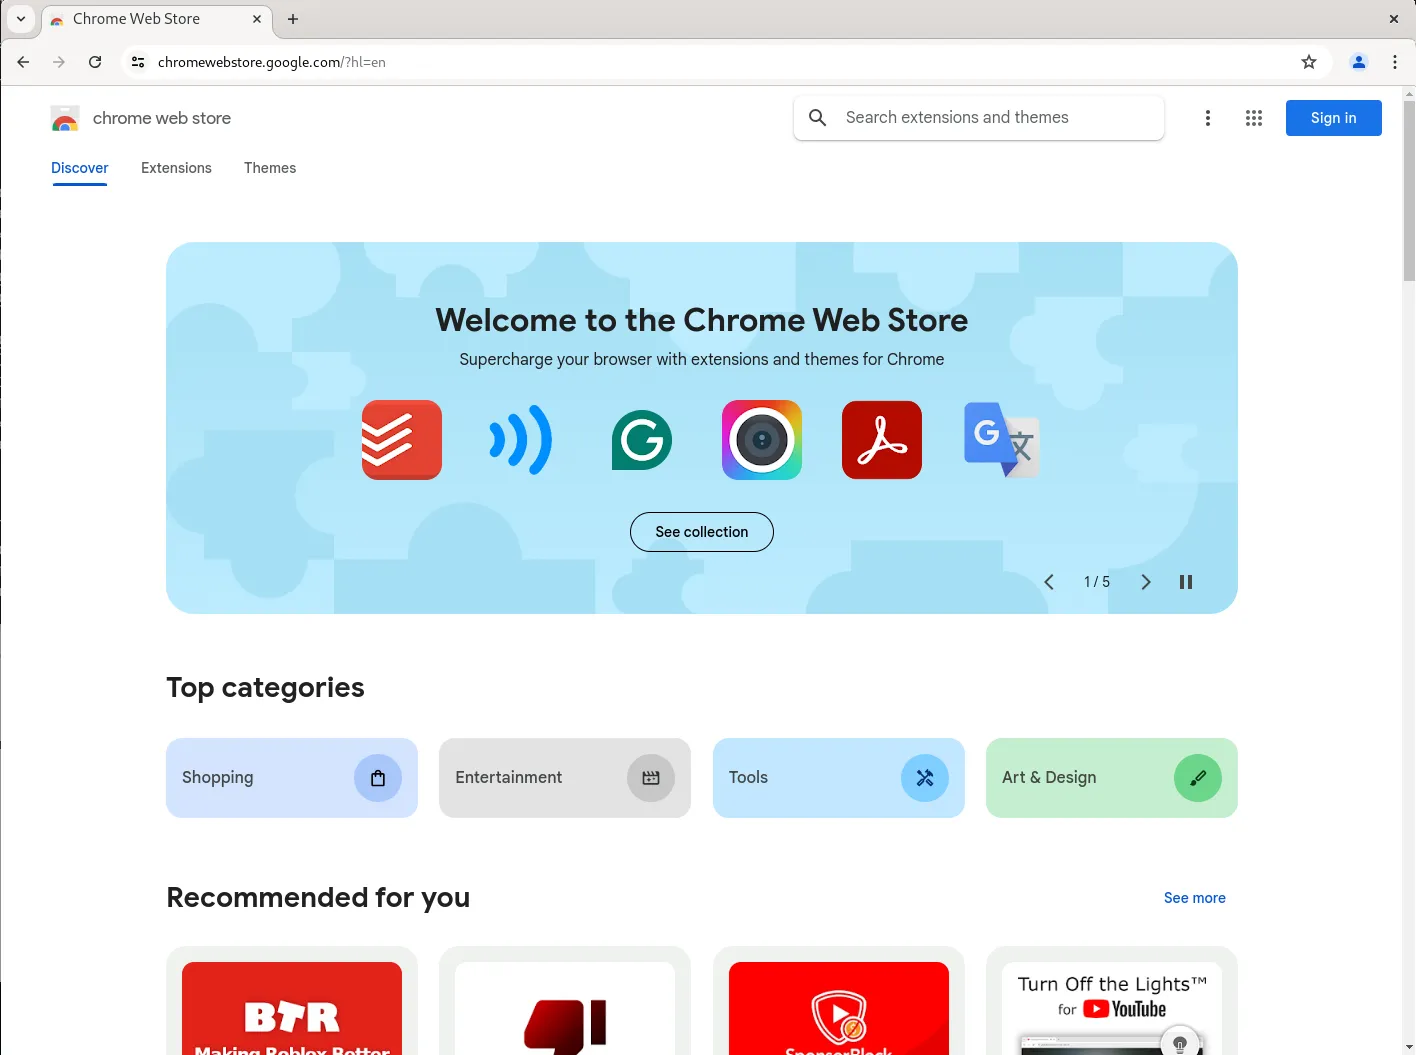
Chrome Remote Desktop on Ubuntu 24.04
Google Chrome Web Store Page
Chrome Remote Desktop on Ubuntu 24.04
Select Chrome Remote Desktop
Google Chrome Remote Desktop Extension Installed
Chrome Remote Desktop Extension Installed

Photo by admingeek from Infotechys

Step 3: Set Up Remote Desktop on Google Chrome

After installing the extension, follow these steps to set up remote access:

  • Open a new tab in Google Chrome and go to remotedesktop.google.com/access.
  • Click this Download link to download the Debian package for Chrome Remote Desktop.
  • Open your terminal and navigate to the download location. Then, install the package using:
sudo dpkg -i chrome-remote-desktop_current_amd64.deb

Step 4: Enable Remote Desktop Access

To enable remote desktop access, you may need to install and configure a desktop environment if you’re using a server version of Ubuntu without a GUI. Here’s how you can install the Xfce desktop environment:

sudo apt-get install xfce4 xfce4-goodies
sudo apt-get install -f
  • After installation, set Xfce as the default desktop environment for Chrome Remote Desktop:
sudo vim /etc/chrome-remote-desktop-session
  • Replace the content with (then, save and close the file):
exec /usr/sbin/lightdm-session 'xfce4-session'
  • Now reboot your machine:
sudo systemctl reboot

Step 5: Configure Remote Desktop

To configure Chrome Remote Desktop, follow these steps (from another Google Chrome Browser on another machine):

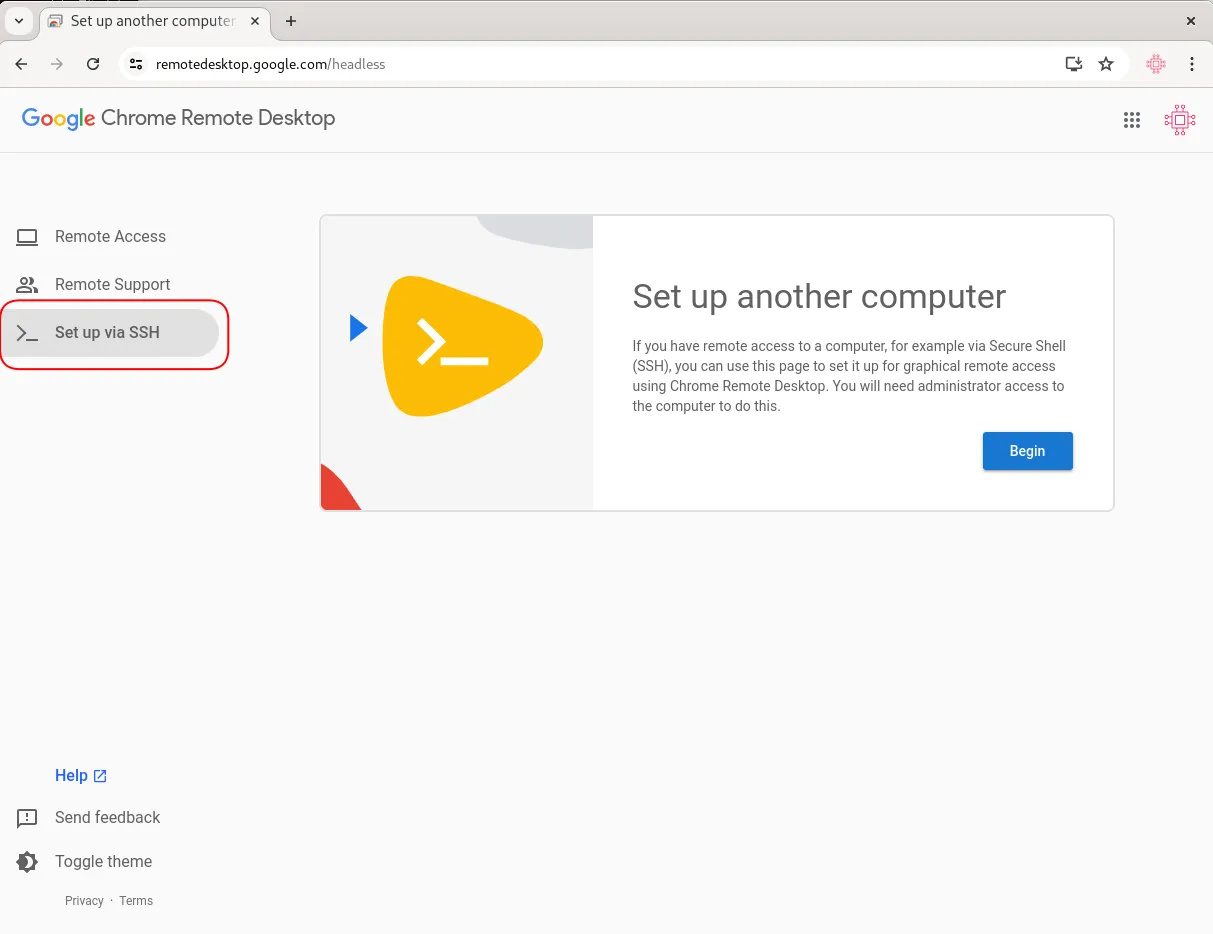
Setup another computer screen

Photo by admingeek from Infotechys

  • Click the Begin button to continue.
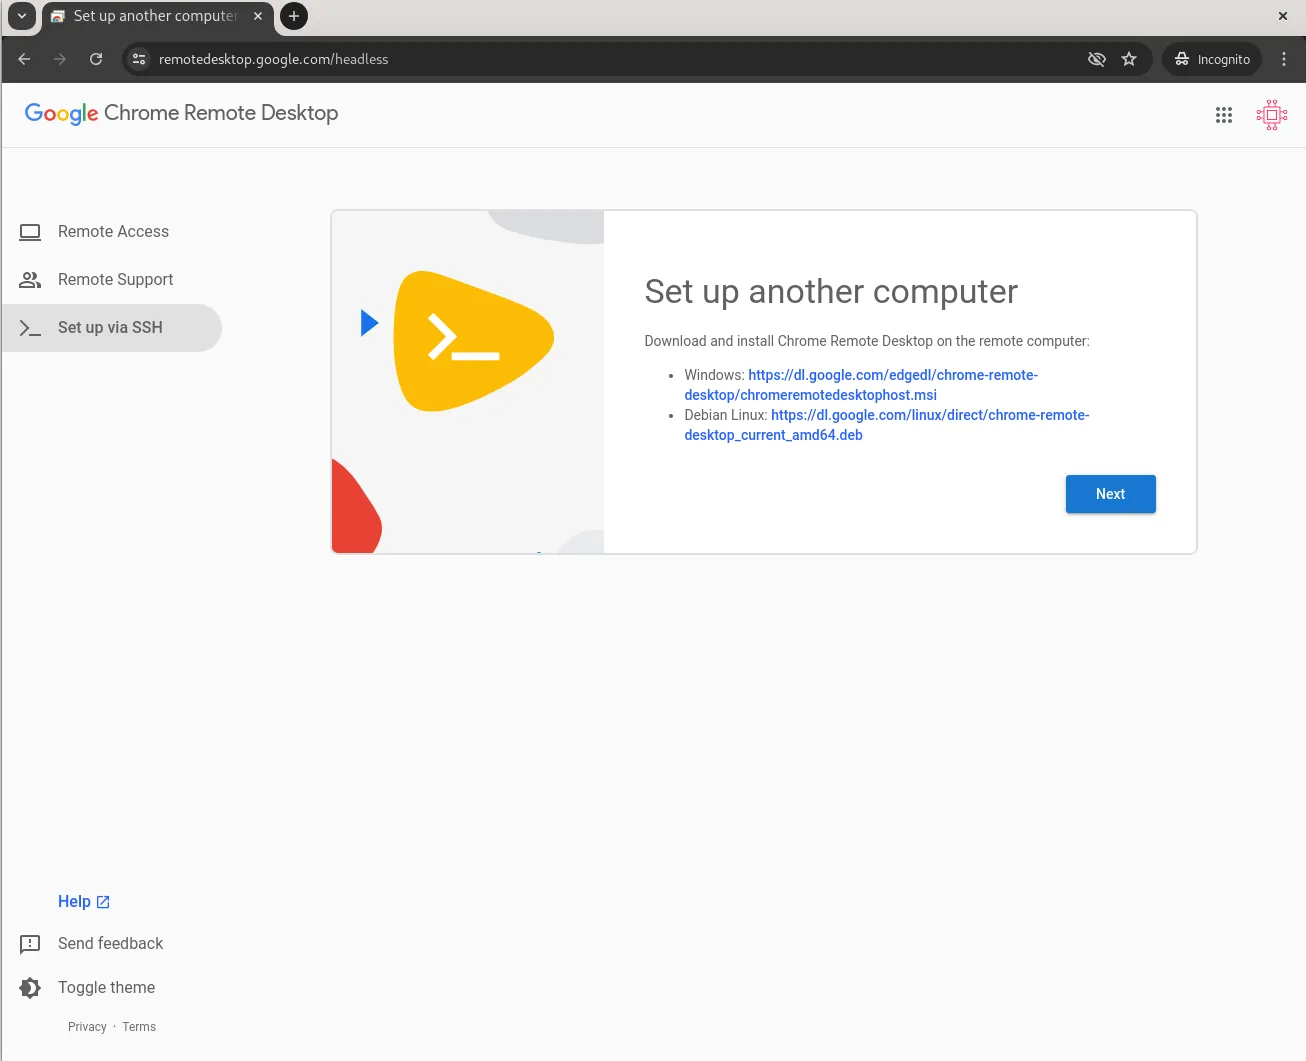
Remote Desktop Computer Setup Process: Part 2

Photo by admingeek from Infotechys

  • Now, click the Next button to continue.
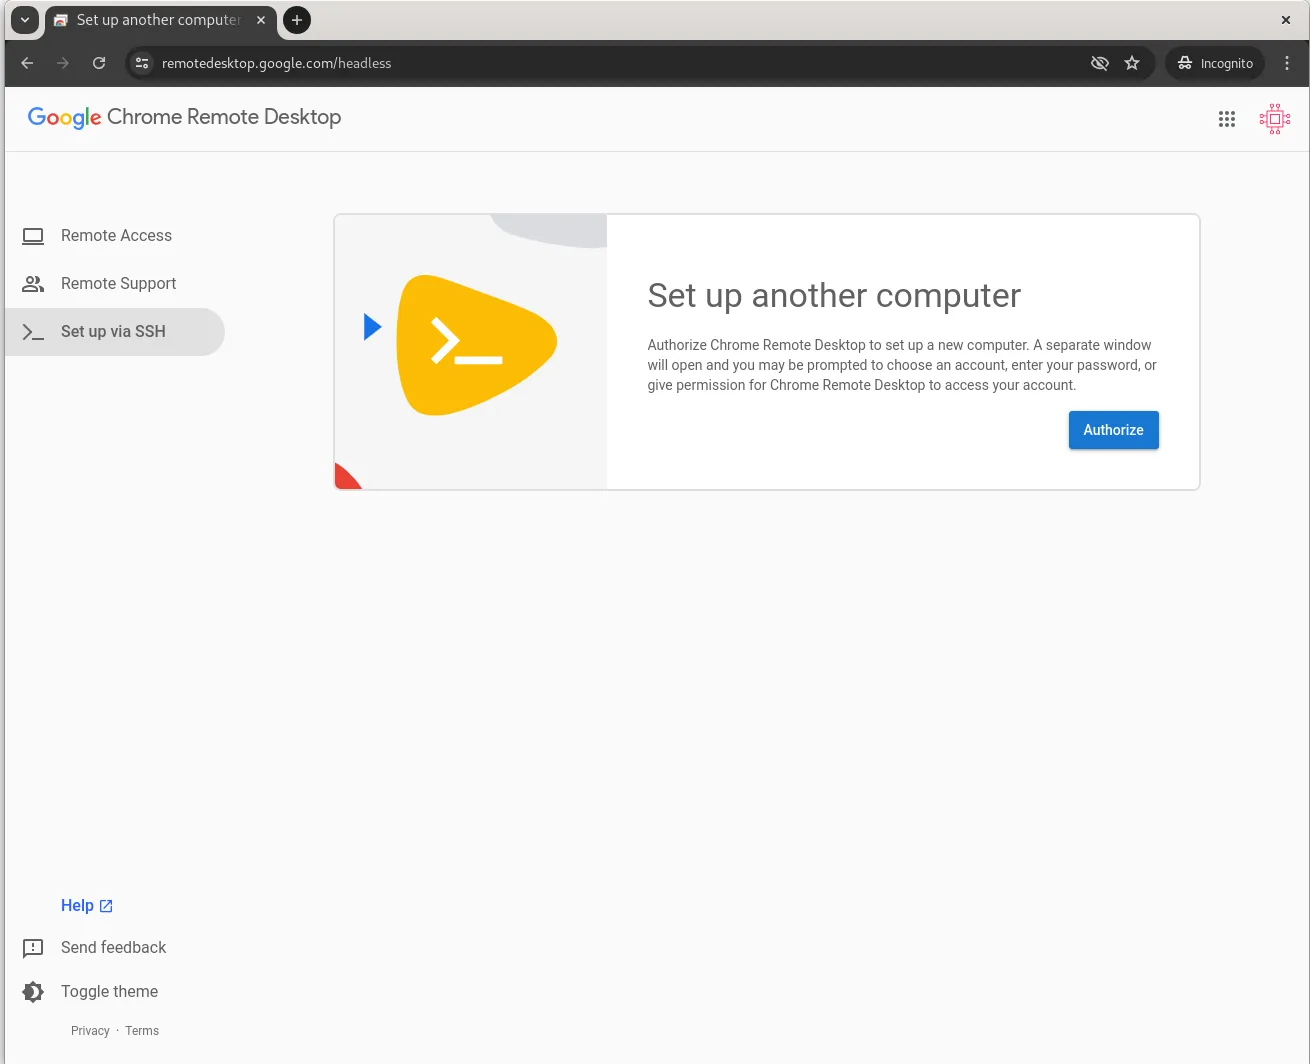
Remote Desktop Computer Setup Process: Part 3

Photo by admingeek from Infotechys

  • Then, click the Authorize button to continue.
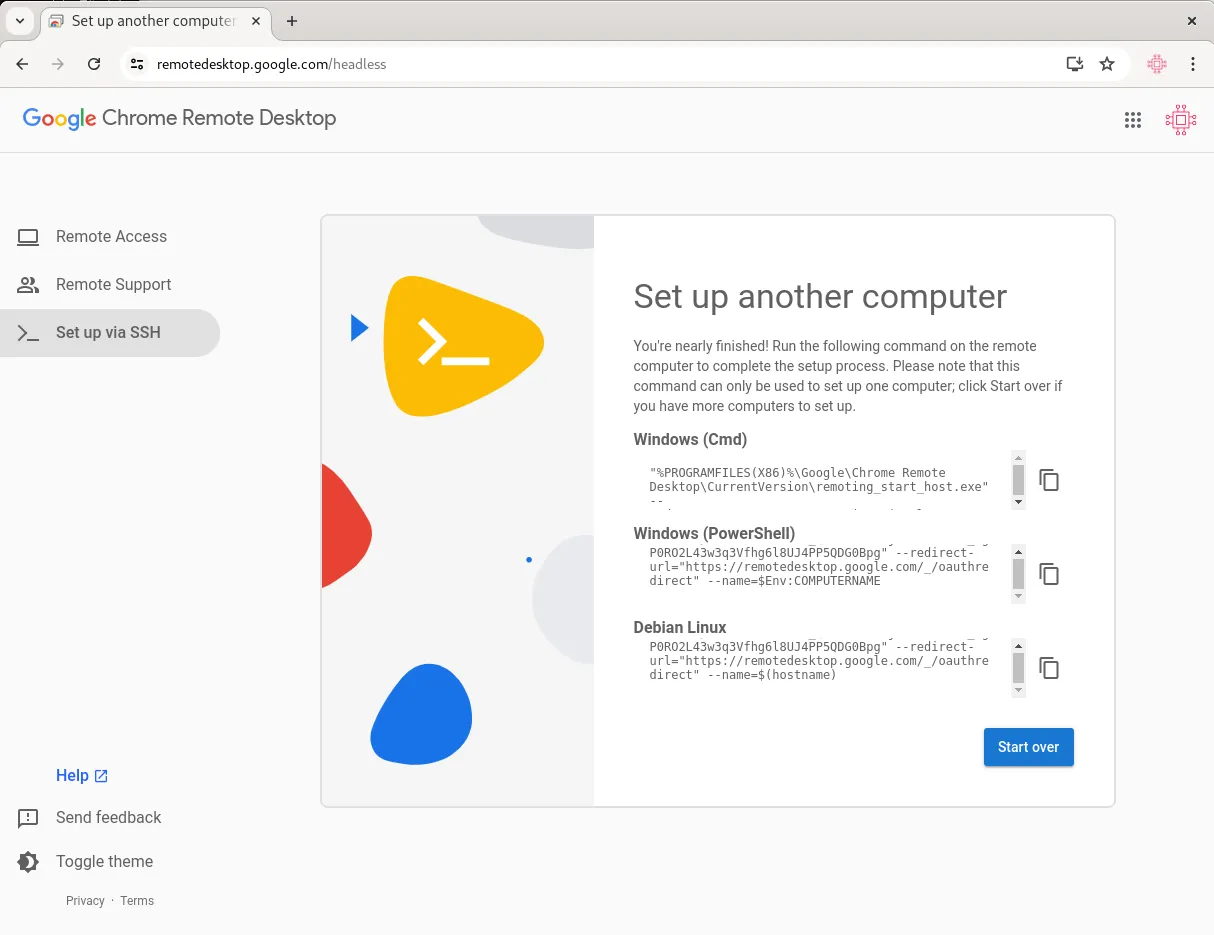
Remote Desktop Computer Setup Process: Part 4

Photo by admingeek from Infotechys

  • Copy the text under the Debian Linux textbox and paste it to the terminal on your Ubuntu 24.04 machine.
Remote Desktop Computer Setup Process: Part 5

Photo by admingeek from Infotechys

  • Press the Enter key to continue. You’ll be prompted to enter a six-digit PIN. You will need this later to remote to your Ubuntu machine after the installation completes.

Using Google Chrome Remote Desktop

Once the setup is complete, you can access your Ubuntu 24.04 system from any device with the Chrome browser and Chrome Remote Desktop extension installed. Here’s how you can connect:

Open Chrome and navigate to remotedesktop.google.com/access
Remote Desktop Computer Setup Process: Part 6

Photo by admingeek from Infotechys

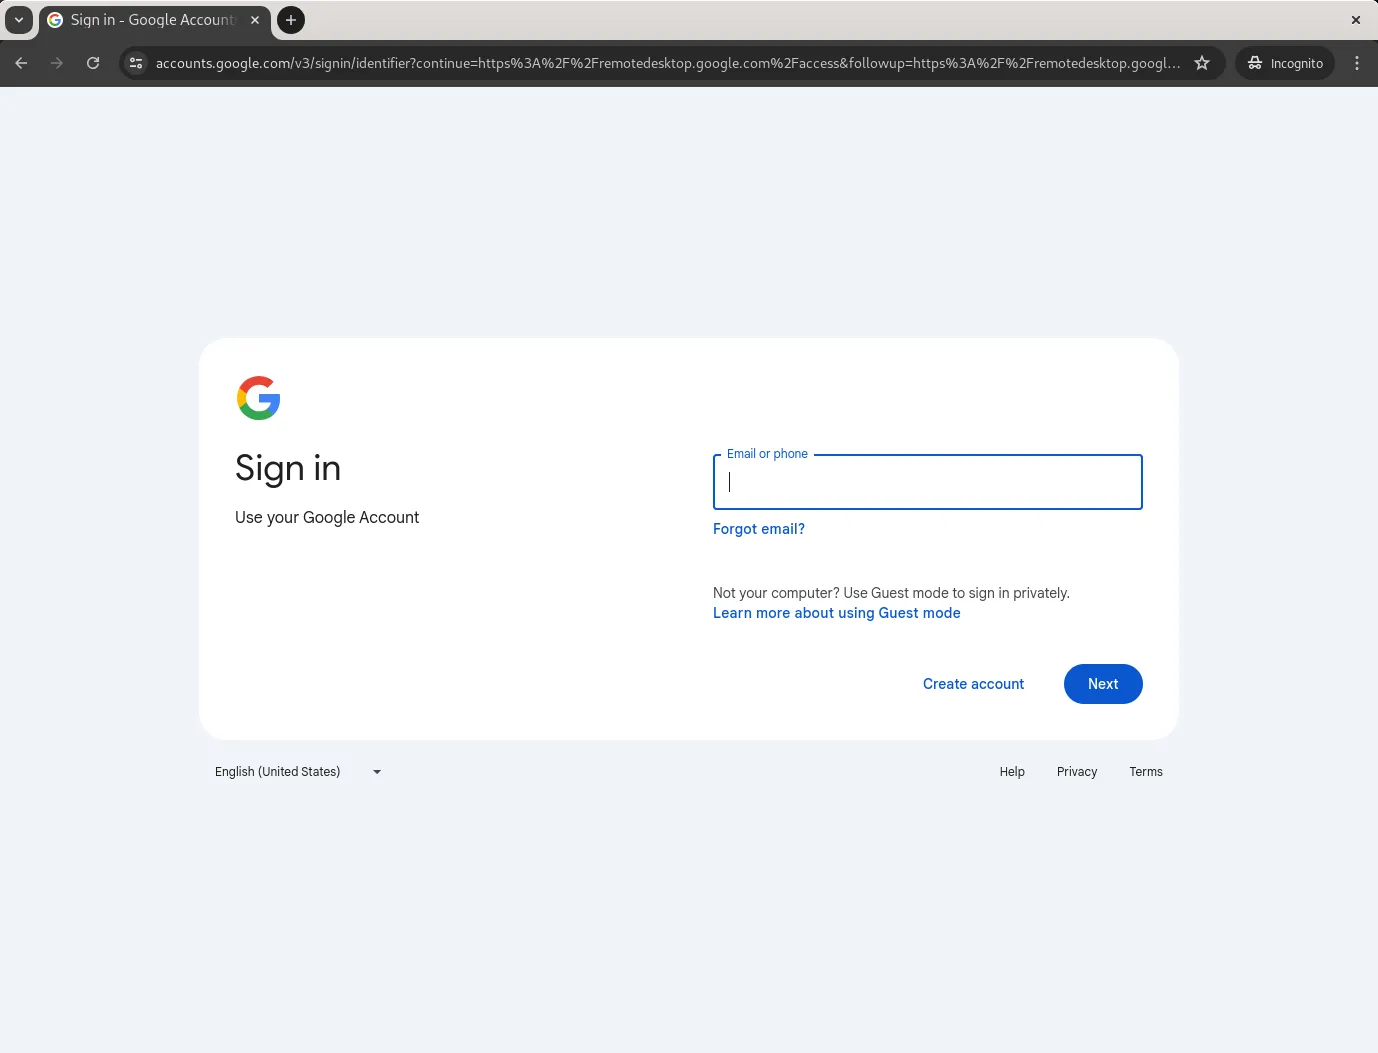
Sign in with the same Google account used for setting up remote desktop.
Remote Desktop Computer Setup Process: Part 7

Photo by admingeek from Infotechys

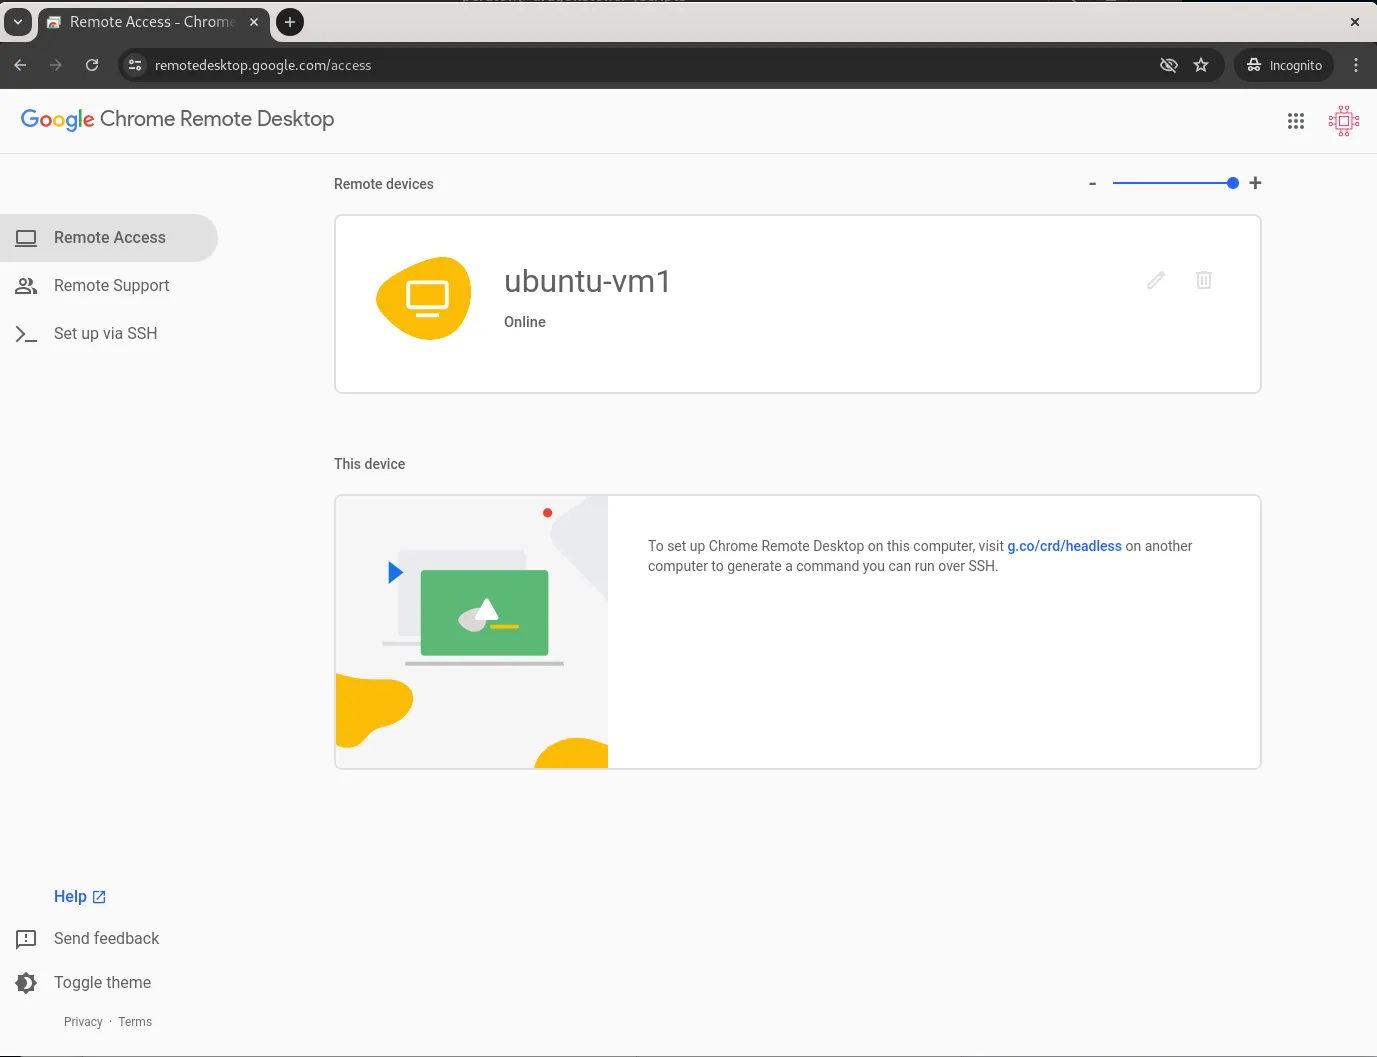
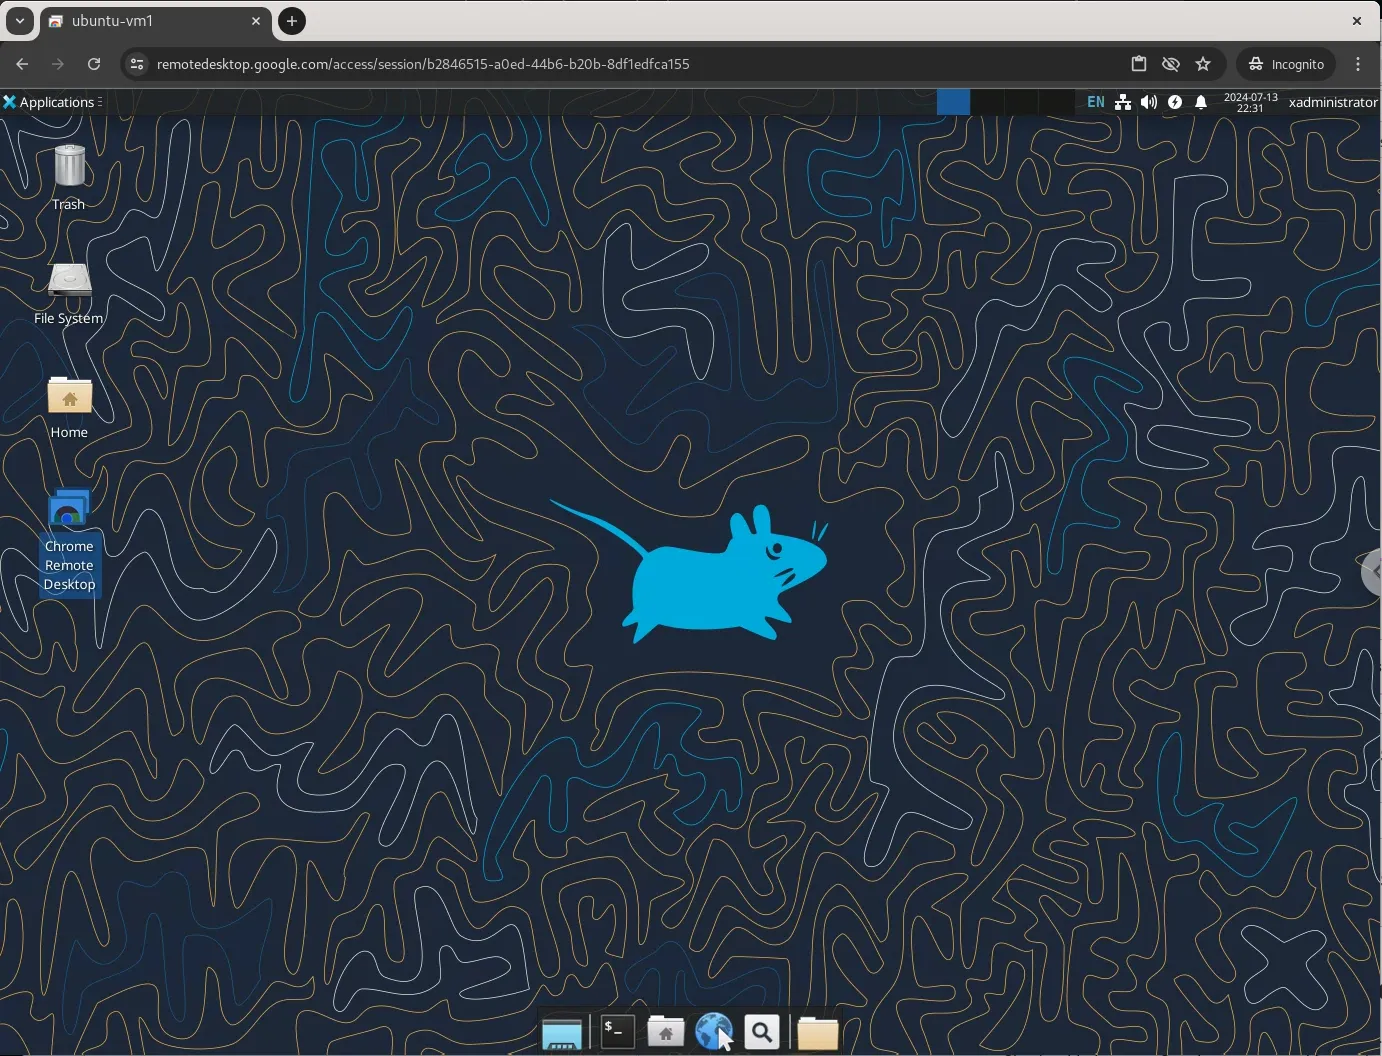
You will see the computer name of your Ubuntu machine you set up earlier. Click on it.
Remote Desktop Computer Setup Process: Part 8

Photo by admingeek from Infotechys

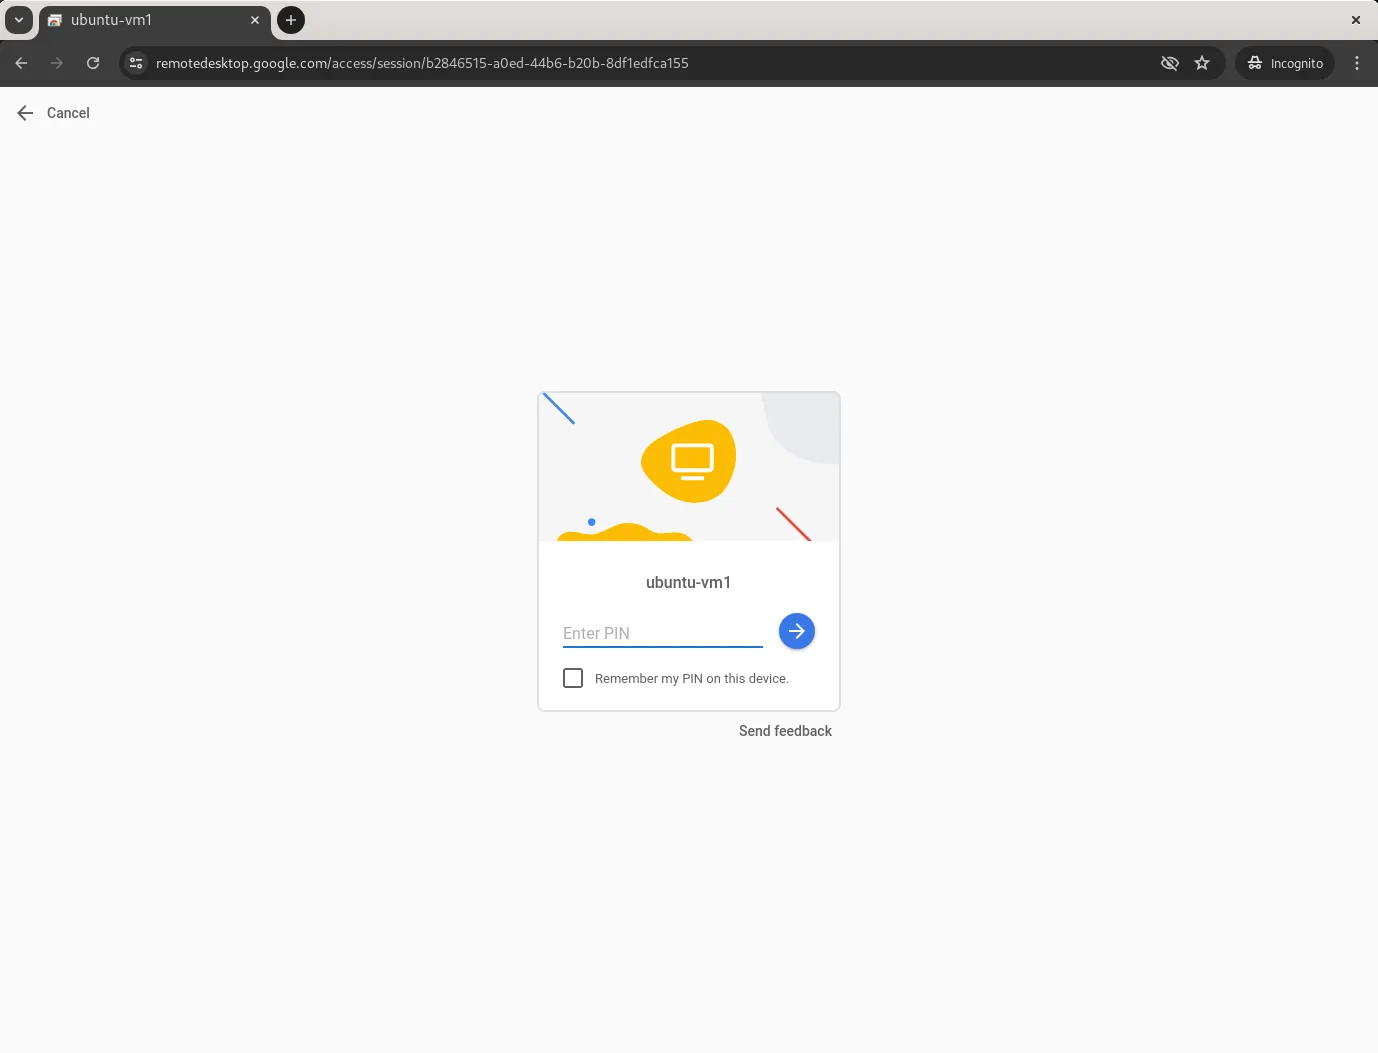
Enter the PIN you created to start the remote session.

And, you’re done! You’ve now gained remote desktop access to your Ubuntu 24.04 machine.

Remote Desktop Computer Setup Process: Part 9

Photo by admingeek from Infotechys

Troubleshooting Common Issues

Even with the best instructions, issues can arise. Here are some common problems and solutions:

Problem: Unable to Start the Chrome Remote Desktop Service

Solution: Check the status of the service with:

sudo service chrome-remote-desktop start

If the service isn’t active, try restarting it:

sudo systemctl restart chrome-remote-desktop

Problem: Black Screen After Connecting

Solution: This issue often occurs due to a missing or misconfigured desktop environment. Ensure that Xfce is installed correctly and set as the default session in the /etc/chrome-remote-desktop-session file.

Problem: Connection Timeout

Solution: Ensure that your internet connection is stable. You may also need to check your firewall settings to ensure that Chrome Remote Desktop is allowed.


Advantages of Using Google Chrome Remote Desktop

Security

One of the primary concerns with remote desktop applications is security. Chrome Remote Desktop uses a secure SSL connection and requires a PIN to access your system, ensuring that your data remains protected.

Performance

Chrome Remote Desktop offers smooth performance with minimal lag, even over slower internet connections. This makes it an ideal choice for accessing your desktop applications from anywhere.


Conclusion

Google Chrome Remote Desktop is an excellent tool for anyone needing remote access to their Ubuntu 24.04 system. By following this step-by-step guide, you can easily set up and configure remote desktop access, ensuring you have control over your system from anywhere. With its robust security features and seamless performance, it’s a reliable choice for both personal and professional use.

Did you find this article useful? Your feedback is invaluable to us! Please feel free to share your thoughts in the comments section below.

資料來源:https://infotechys.com/chrome-remote-desktop-on-ubuntu-24-04/