ESP8266 - How to embed bootstrap in the SPIFFS disk of ESP8266
This is a quick write up of me following the instruction at the link below to try out embedding bootstrap in the SPIFFS disk of ESP8266.
Embed bootstrap into an ESP8266 Web server with SPIFFS
https://www.techtinker.co.za/2018/08/28/fully-embed-bootstrap-into-an-esp8266-web-server/

Note that my Arduino IDE already has "ESP8266 Sketch Data Upload" installed from other projects, if you don't have it installed in your Arduino IDE, follow the instruction in the link below to install it.
https://www.instructables.com/id/Using-ESP8266-SPIFFS/
Uploading bootstrap to SPIFFS for off-line use
1. Create a "data" directory in the directory where the Arduino sketch is kept.

2. Download the bootstrap framework from this link https://getbootstrap.com/.
In the css and the js folder, find the highlighted files as shown below and create a compressed version of them using program such as 7zip and save them in the .gz format.
In the css folder

In the js folder

3. Copy the 4 .gz files to the "data" folder created in step 1 above.
Note, alternatively, you could just download the project which contains the main Arduino sketch and the 5 files shown below from the link below.
https://drive.google.com/drive/folders/1pxuUSQCHoMsyVPuX8-EfgiWuip-1YvfE.
- bootstrap.css.map.gz
- bootstrap.min.css.gz
- bootstrap.min.js.gz
- bootstrap.min.js.map.gz
- index.html.gz

The index.html.gz contains the web page that will be served by the webserver running on ESP8266. The content of this file is shown below.
1 2 3 4 5 6 7 8 9 10 11 12 13 14 15 16 17 18 19 20 21 22 23 24 25 26 27 28 29 30 31 32 33 34 35 36 37 38 39 40 41 42 43 44 45 46 47 48 49 50 51 52 53 54 55 56 57 58 | <!doctype html>
<html lang="en">
<head>
<meta charset="utf-8">
<meta name="viewport" content="width=device-width, initial-scale=1, shrink-to-fit=no">
<meta name="description" content="">
<meta name="author" content="">
<link rel="icon" href="/favicon.ico">
<title>Fixed top navbar example for Bootstrap</title>
<!-- Bootstrap core CSS -->
<link href="/bootstrap.min.css" rel="stylesheet">
<!-- Custom styles for this template -->
<link href="navbar-top-fixed.css" rel="stylesheet">
</head>
<body>
<nav class="navbar navbar-expand-md navbar-dark fixed-top bg-dark">
<a class="navbar-brand" href="#">Fixed navbar</a>
<button class="navbar-toggler" type="button" data-toggle="collapse" data-target="#navbarCollapse" aria-controls="navbarCollapse" aria-expanded="false" aria-label="Toggle navigation">
<span class="navbar-toggler-icon"></span>
</button>
<div class="collapse navbar-collapse" id="navbarCollapse">
<ul class="navbar-nav mr-auto">
<li class="nav-item active">
<a class="nav-link" href="#">Home <span class="sr-only">(current)</span></a>
</li>
<li class="nav-item">
<a class="nav-link" href="#">Link</a>
</li>
<li class="nav-item">
<a class="nav-link disabled" href="#">Disabled</a>
</li>
</ul>
<form class="form-inline mt-2 mt-md-0">
<input class="form-control mr-sm-2" type="text" placeholder="Search" aria-label="Search">
<button class="btn btn-outline-success my-2 my-sm-0" type="submit">Search</button>
</form>
</div>
</nav>
<br><br><br>
<main role="main" class="container">
<div class="jumbotron">
<h1>Navbar example</h1>
<p class="lead">This example is a quick exercise to illustrate how fixed to top navbar works. As you scroll, it will remain fixed to the top of your browser's viewport.</p>
<a class="btn btn-lg btn-primary" href="../../components/navbar/" role="button">View navbar docs »</a>
</div>
</main>
<!-- Bootstrap core JavaScript
================================================== -->
<script src="/bootstrap.min.js"></script>
</body>
</html>
|
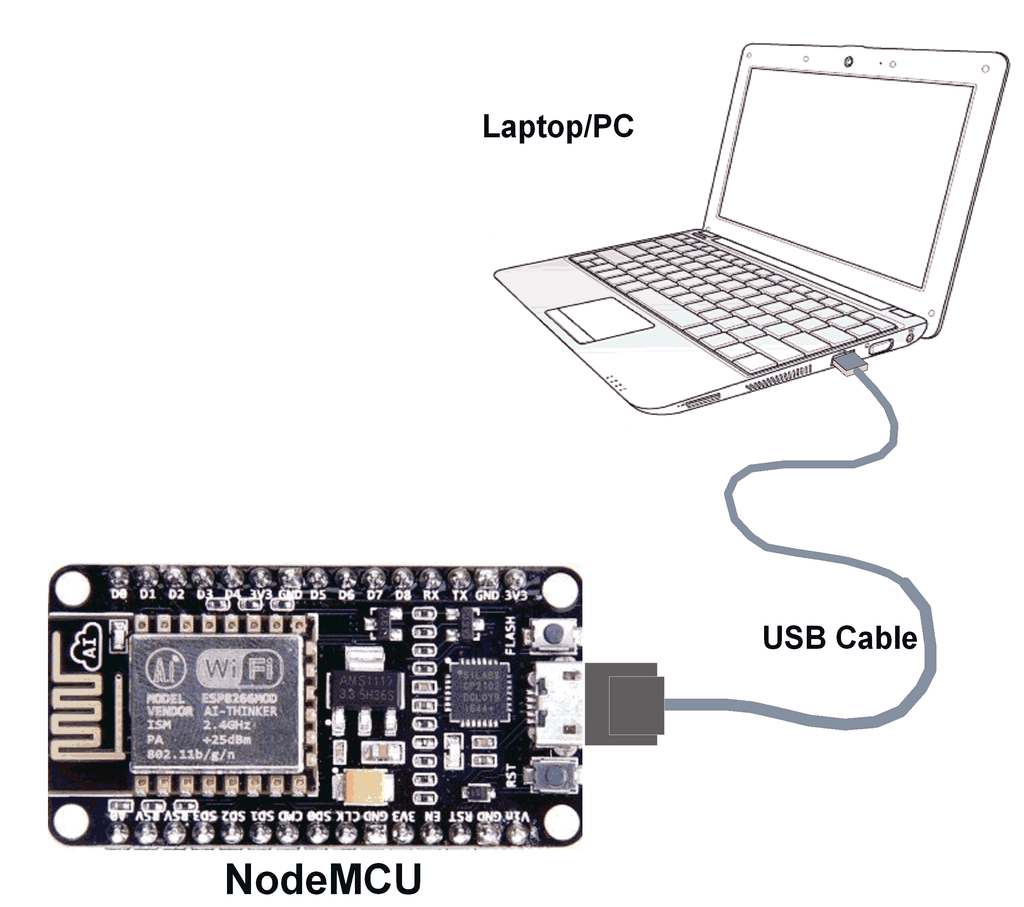
4. Connect ESP8266 to the computer, launch Arduino IDE. In Arduino IDE, click on "Tools", then click on "ESP8266 Sketch Data Upload" to upload the files in the "data" directory to the SPIFFS disk of ESP8266.

The upload progress will be displayed through the message window of the Arduino IDE.

5. Compile and upload the sketch below to ESP8266. Be sure to put the credential of your wifi network in the "ssid" and "password" fields.
1 2 3 4 5 6 7 8 9 10 11 12 13 14 15 16 17 18 19 20 21 22 23 24 25 26 27 28 29 30 31 32 33 34 35 36 37 38 39 40 41 42 43 44 45 46 47 48 49 50 51 52 53 54 55 56 57 58 59 60 61 62 63 | // Source: https://www.techtinker.co.za/2018/08/28/fully-embed-bootstrap-into-an-esp8266-web-server/ #include <FS.h> #include <ESP8266WiFi.h> #include <WiFiClient.h> #include <ESP8266WebServer.h> const char* ssid = "Your_Existing_AP"; const char* password = "password_of your_existing_wifi_network"; ESP8266WebServer server(80); void setup() { Serial.begin(115200); WiFi.mode(WIFI_STA); WiFi.begin(ssid,password); // Wait for connection while (WiFi.status() != WL_CONNECTED) { delay(500); Serial.print("."); } Serial.println(WiFi.localIP()); server.begin(); server.on("/", fileindex); server.on("/index.html", fileindex); server.on("/bootstrap.min.css", bootstrap); server.on("bootstrap.min.css", bootstrap); server.on("/popper.min.js", popper); server.on("/bootstrap.min.js", bootstrapmin); server.on("bootstrap.min.js", bootstrapmin); //NEW SPIFFS.begin(); } void loop() { server.handleClient(); } void fileindex(){ File file = SPIFFS.open("/index.html.gz", "r"); size_t sent = server.streamFile(file, "text/html"); } void bootstrap(){ File file = SPIFFS.open("/bootstrap.min.css.gz", "r"); size_t sent = server.streamFile(file, "text/css"); } void popper(){ File file = SPIFFS.open("/popper.min.js.gz", "r"); size_t sent = server.streamFile(file, "application/javascript"); } void bootstrapmin(){ File file = SPIFFS.open("/bootstrap.min.js.gz", "r"); size_t sent = server.streamFile(file, "application/javascript"); } |
6. Launch the Serial Monitor of the Arduino IDE to find the IP assigned to the ESP8266. Here, the IP assigned is 192.168.31.9.

7. Launch a web browser then enter the IP address obtained from above in the URL field to connect to the ESP8266.

A neat thing about using bootstrap is that it's responsive..

Reference - UI Design:
Bootstrap: create a beautiful Web Interface for your projects ESP8266
https://diyprojects.io/bootstrap-create-beautiful-web-interface-projects-esp8266/
Using ESP8266 SPIFFS
https://www.instructables.com/id/Using-ESP8266-SPIFFS/
Embed bootstrap into ESP8266
https://mybroadband.co.za/forum/threads/embed-bootstrap-into-esp8266.972617/
Bootstrap Tutorial for Beginners
https://www.youtube.com/watch?v=FMFm9GxB_Eo
Bootstrap Glyphicon Components
https://www.w3schools.com/bootstrap/bootstrap_ref_comp_glyphs.asp
======================================================================
Icons and symbols that could be used for artworks
GLYPHICONS®
https://www.glyphicons.com/
A library of precisely prepared monochromatic icons and symbols, created with an emphasis to simplicity and easy orientation.
資料來源:http://wei48221.blogspot.com/2020/03/esp8266-how-to-embed-bootstrap-in.html